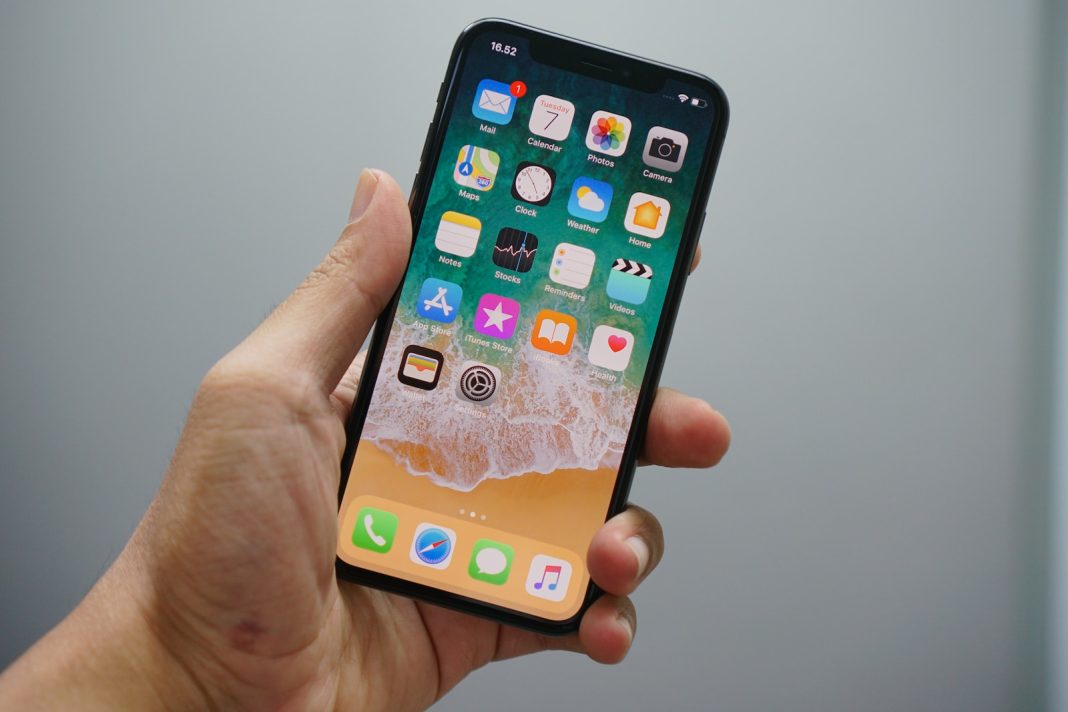
In the digital age, our smartphones are an integral part of our lives, holding a treasure trove of personal information. Imagine the frustration when faced with the dreaded “iPhone Unavailable” message, a consequence of multiple failed passcode attempts. While it’s a security feature designed to protect your device, it can be a real headache if you find yourself locked out. Fear not; we’ve got you covered with four methods to regain control of your iPhone, depending on the situation.
Understanding the “iPhone Unavailable” Message
The appearance of the “iPhone Unavailable” (or “iPhone is disabled”) message signifies that someone, intentionally or accidentally, attempted to access your device with the wrong passcode multiple times. This security measure ensures that unauthorized access is thwarted, but it can be inconvenient for the device owner.
The time your iPhone remains unavailable increases with each failed attempt. After five unsuccessful tries, it locks for one minute, escalating to five minutes, 15 minutes, and finally one hour for subsequent attempts. Beyond ten incorrect passcodes, your iPhone enters a security lockout, displaying “Security Lockout” for iOS 15.2 or newer, or prompting a connection to iTunes for iOS 14 or older. If you’ve enabled the “Erase Data” option, the device wipes itself clean after ten failed attempts.
The No-Unlock Dilemma
Once your iPhone is locked, there’s no way to unlock it without the correct passcode. Even Apple cannot assist in this matter. If you’re certain about forgetting your passcode, the only solution is to erase everything on your device and restore it to factory settings. The silver lining is that if you have a recent backup, the restoration process can have you up and running in a couple of hours.
Recovering from the “iPhone Unavailable” Error (iOS 15.2 or newer)
For users on iOS 15.2 or newer, wiping your iPhone and starting fresh is a straightforward solution. Here’s a step-by-step guide:
- From the “iPhone Unavailable” screen, choose “Erase iPhone” (iOS 15/16) or “Forgot Passcode?” (iOS 17 or newer).
- On the Security Lockout screen, select “Erase iPhone” or “Forgot Passcode?” to confirm.
- Enter your Apple ID password on the next screen.
- Confirm by selecting “Erase iPhone.”
This process wipes your iPhone, returning it to factory settings. During setup, you can restore your most recent iCloud backup to retrieve your data.
Addressing the “iPhone is Disabled” Error (iOS 14 or Older)
For users on iOS 14 or older, the direct wipe option isn’t available until ten failed passcode attempts. If the “Erase Data” setting is disabled, you’ll enter security lockout mode. In such cases, using iCloud or a computer becomes necessary.
Remote Erasure via iCloud
Assuming you’ve enabled Find My iPhone, follow these steps to remotely erase your device:
- Visit icloud.com/find and sign in with your Apple ID.
- Select “All Devices” and choose your disabled iPhone.
- Click “Erase iPhone” on the device window.
After the remote erasure, your iPhone restarts in its factory configuration. Note that Activation Lock remains active, requiring your Apple ID and passcode during setup.
Recovering via Mac or Windows PC
If you didn’t enable Find My iPhone, or if you prefer a computer-based approach, follow these steps:
- Launch iTunes (Mac/PC) or Finder (Mac) without connecting your device.
- Put your iPhone into Recovery Mode based on its model.
- Connect your device to the computer and select your iPhone when detected.
- Choose “Restore” when prompted.
After completion, your iPhone will be reset to factory settings, ready for setup and data restoration.
Preventing a Disabled iPhone
To avoid the frustration of a disabled iPhone, follow these preventive measures:
- Set a memorable numeric passcode.
- Utilize Touch ID or Face ID for quicker access.
- Disable “Tap to Wake” and “Raise to Wake” to minimize accidental touches.
In conclusion, while the “iPhone Unavailable” error can be exasperating, the outlined solutions ensure a smooth recovery process. By adopting preventive measures, you can reduce the likelihood of encountering this issue, maintaining the security of your iPhone without compromising convenience.


