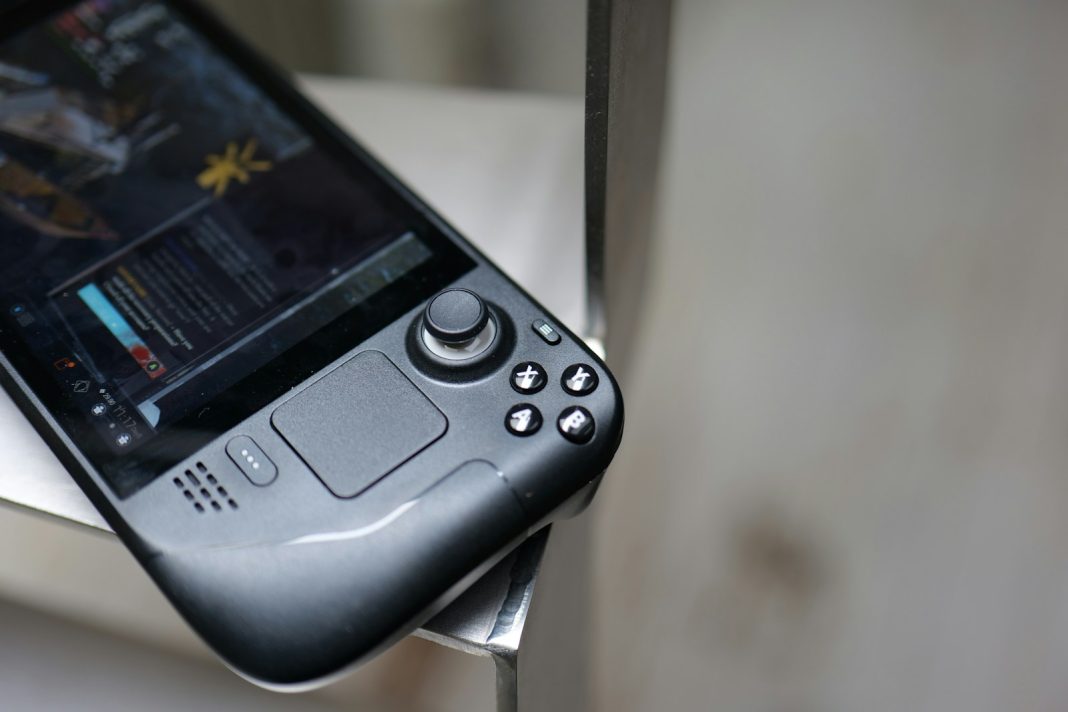
In a ground breaking move, gamers and tech enthusiasts have discovered a method to install Windows 11 and Windows 10 on Valve’s Steam Deck, transforming the handheld gaming console into a versatile portable workstation. While not officially supported, this guide outlines the steps to harness the power of Windows on the Steam Deck, providing users with an alternative operating system for enhanced functionality.
Bootstrapping from a microSD card or USB drive
Before committing to a full installation on the Steam Deck’s internal SSD, users are encouraged to explore the feasibility of Windows through a reversible process of booting from a microSD card or USB drive. This method allows for a trial run without jeopardizing the existing SteamOS setup.
To embark on this journey, follow these steps:
- Download Windows Installation Tools:
- Head to Microsoft’s official website to obtain the Windows 10 media creation tool. For Windows 11 enthusiasts, a specific creation tool is available.
- Download Rufus, a crucial tool for creating a bootable version of Windows on a microSD card or USB drive.
- Acquire the necessary Steam Deck Windows drivers from Valve.
- Initiate the Installation:
- Use the Windows Media Creation Tool to create installation media on your preferred storage device.
- Utilize Rufus to make the selected microSD card or USB drive bootable.
- Insert the storage device into the Steam Deck and access the boot manager by holding down the Volume down button during start up.
- Choose the storage device to boot into Windows and follow the setup process.
- Optimize for Steam Deck:
- Adjust the display orientation in Windows settings to ensure a seamless experience on the Steam Deck.
- Install Steam Deck Windows drivers for optimal performance.
By following these steps, users can explore the Windows environment on the Steam Deck without affecting the original SteamOS setup.
Direct Installation on the Steam Deck’s SSD
For those ready to commit to a Windows-only experience on the Steam Deck, a direct installation to the internal SSD is possible. However, this method comes with a caveat – it requires erasing all data on the SSD, including games, settings, and SteamOS itself.
Here’s how to proceed:
- Create a Windows Installation Drive:
- Download the Windows media creation tool and create an installer on a USB drive with at least 16GB of storage.
- Connect the USB drive to the Steam Deck using a USB hub.
- Initiate the Installation:
- Power down the Steam Deck, connect the USB drive, and enter the boot manager by holding the Volume down button during startup.
- Select the USB drive with the Windows installer and proceed with the installation process.
- Delete partitions on the Steam Deck to install Windows.
- Complete the Setup:
- After installation, adjust display orientation in Windows settings.
- Install Steam Deck Windows drivers for optimal functionality.
This method provides a Windows-exclusive experience on the Steam Deck but requires users to be prepared for a complete data wipe.
Reverting to SteamOS: A Recovery Guide
For users who decide to revert to SteamOS after experimenting with Windows on the Steam Deck, Valve offers a dedicated SteamOS recovery image. Follow these steps:
- Download SteamOS Recovery Image:
- Obtain the SteamOS recovery image from Valve’s official source.
- Create a Recovery USB Drive:
- Use Rufus on a separate Windows PC to write the SteamOS recovery image to a USB drive.
- Initiate Recovery on the Steam Deck:
- Power down the Steam Deck, connect the USB drive, and enter the boot manager.
- Select the USB drive to boot into the recovery environment.
- Choose the “Re-image Steam Deck” option.
Be aware that this process involves a factory reset, erasing all data on the Steam Deck.
Troubleshooting and Recommendations
While the integration of Windows on the Steam Deck opens up new possibilities, users may encounter challenges. Here are some tips:
- Ensure the chosen partition is formatted as NTFS for compatibility.
- Some games may perform better in SteamOS; consider reverting to SteamOS if you face performance issues.
- Use Steam on Windows for games requiring the Steam Deck control pad.
- Switching to a portable SSD for frequent Windows use is recommended over a microSD card.
In conclusion, the Windows installation guide for the Steam Deck offers a glimpse into the device’s untapped potential. Users are urged to weigh the benefits against the potential challenges, and as Valve promises future SteamOS updates, the gaming community eagerly anticipates enhanced dual-boot functionality. The Steam Deck continues to evolve, becoming not just a gaming console, but a dynamic portable workstation for diverse user needs.


